ARRO® Conversion
The ARRO® conversion process can be accomplished in 2-3 man hours per row, using simple tools. A complete set of instructions and a drill template are furnished with all ARRO® conversions. This summary shows the basic steps required for most corn heads:


Remove stalk rolls and factory deck plates from the corn head. Remove factory chain guides and gathering chains and set aside—if gathering chains have more than about 2-1/2” of droop, replace them. Clean off the decks as shown here, remove all dirt and rust.
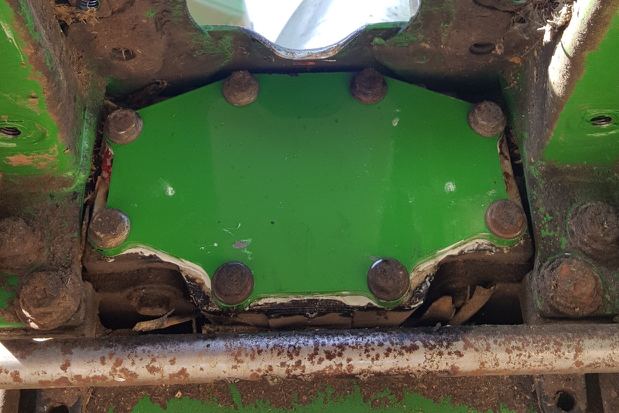
Remove the stalk roll drives (sometimes called binoculars) from the row unit gear cases and replace with the cover plates furnished in the kits.
Use the template provided drill holes required per the kit instructions. NOTE: A magnetic-based drill and 16 mm or 11/16" precision hole cutter is recommended for drilling the two holes required for the disc/sprocket assemblies.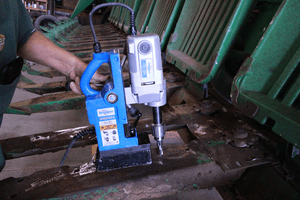
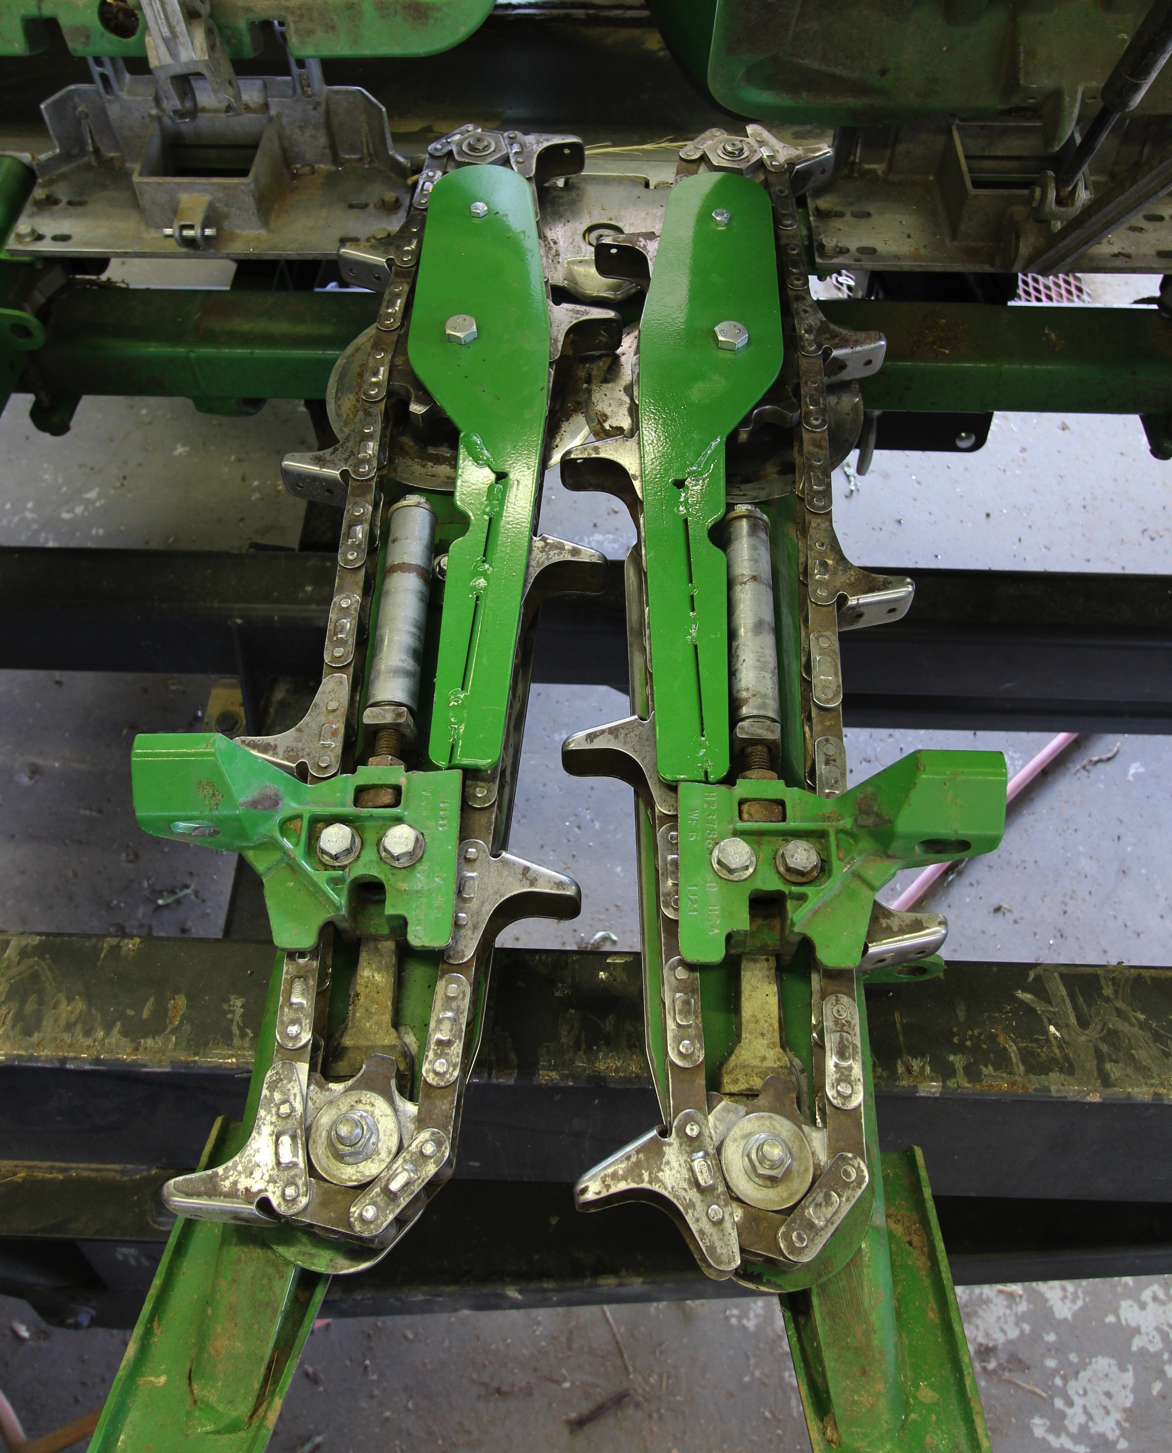
Following instructions in the installation guide for the specific header, install ARRO® deck plates, disc/sprocket assemblies, chain guides, OEM gathering chains and chain tensioner assemblies. Retighten gathering chains to factory specifications. Refill any lost gear box lube.
After clearing all tools from the work area, test run the header to make sure there is no clatter or loose gathering chains. We recommend fine-tuning your auger and row unit (gathering chain) speeds to the specific corn head conversion. Dealers will have that information.
